Sparking Creativity | Kids with Oil Pastels | Art Tutorial
Sparking Creativity
Kids with Oil Pastels- Fun Winter Owl Art Tutorial
This post may contain affiliate links. If you use these links to buy something I may earn a commission at no additional cost to you that allows me to continue to provide useful content. Thanks.
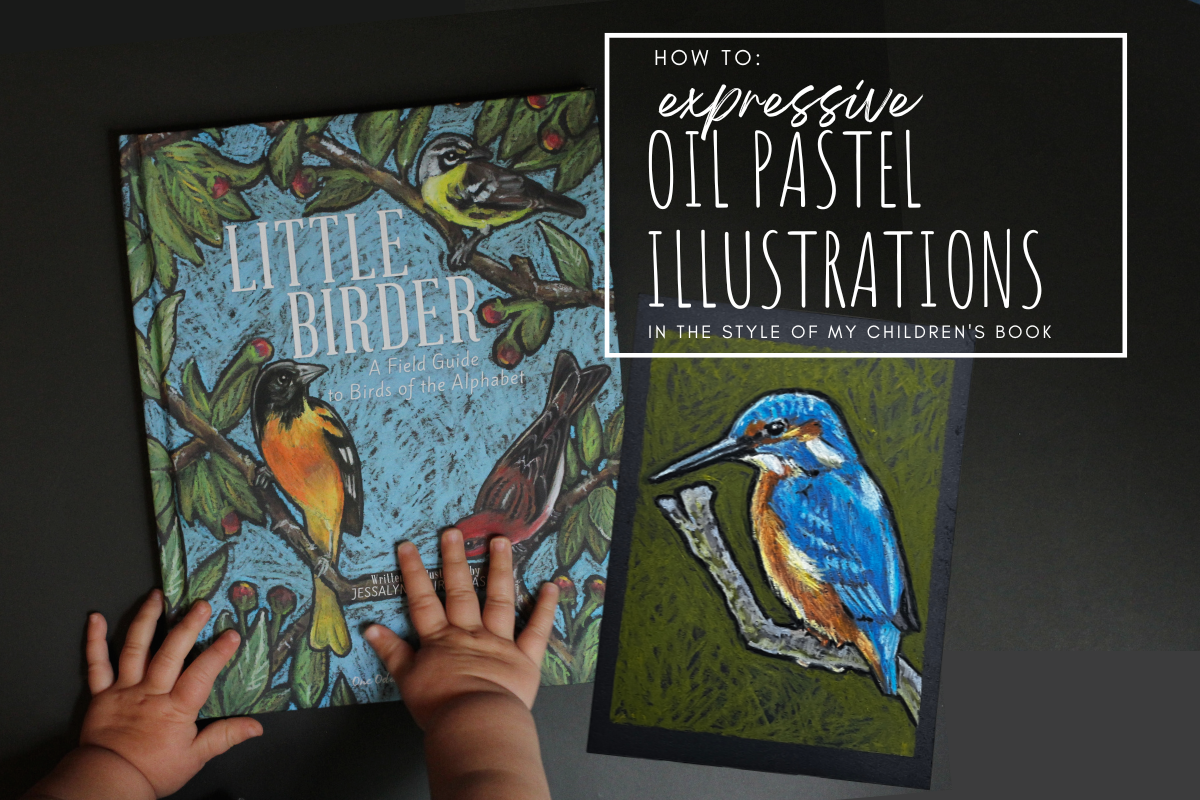
I have been familiar with oil pastels for years, but I really found a new appreciation for their potential during the creation of my children’s book, Little Birder: A Field Guide to Birds of the Alphabet. It was a mound of work to illustrate a bird painting for each letter of the alphabet, a task which I often did with my infant daughter tucked under an arm on my lap. The situation called for a medium and style that suited a one-handed illustrator, strapped to a wiggly baby making continual attempts to eat the art materials. That exciting scenario is where I first began to appreciate the forced imperfection of the stubby little crayon-like colors with a mind of their own.
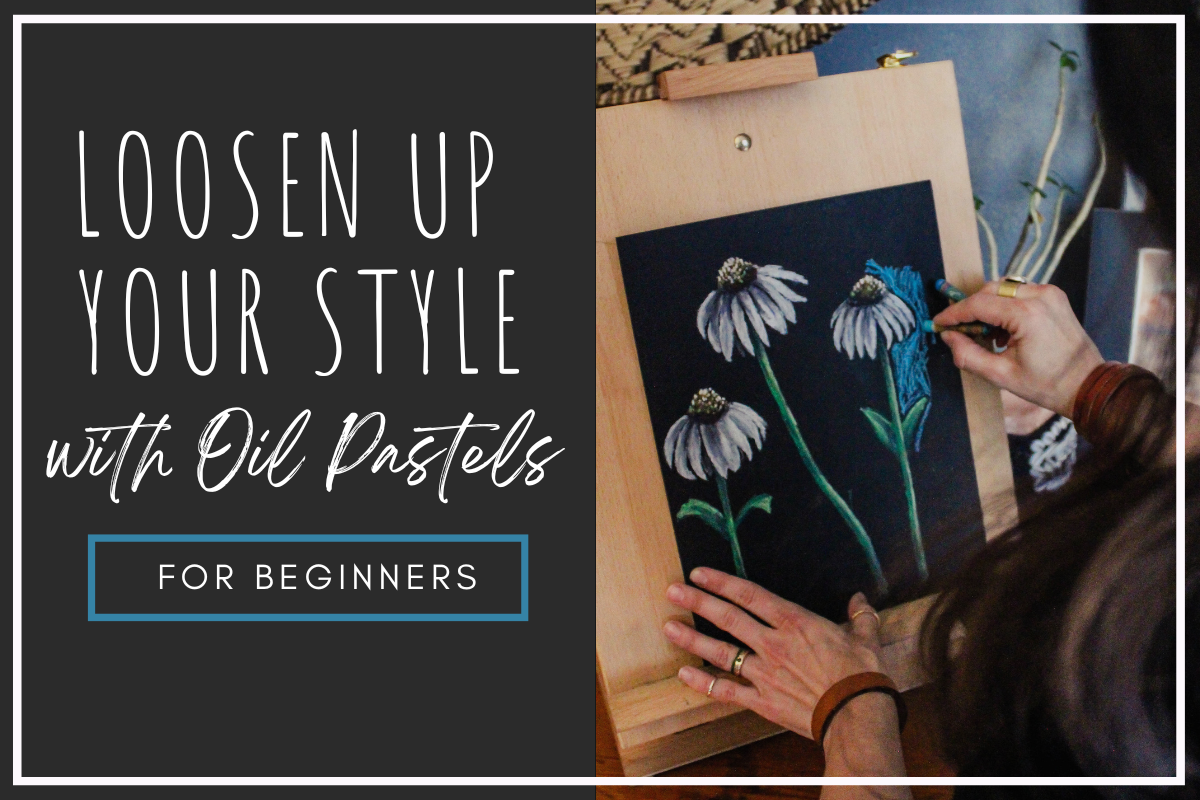
Fast forward a few years and I still love the signature style of the illustrations in my book, plus I now have an artistic four year old. One day it struck me, this is a PERFECT art project for small hands and developing motor skills. The style is intentionally imperfect but the defining features of the bright oil pastels, with heavy black outlines, created by expressive markings on black paper is like an elevated version of the crayon scribbles we all know and love. It is amazing how this small change from crayons to oil pastels, white to black paper, and some intentional black outlines will create stunningly eye-catching artwork from the same little hands that brought you that lovely chicken-dog blob that has been hanging on the fridge since it came home from school on Father’s Day.
WANT TO READ AHEAD?
JUMP TO:
MATERIALS
The material needs are few for this project. The good news is that once you’ve purchased the parts, your child can continue to enjoy the surprising and satisfying outcomes of putting the bright pastels on black paper. Even without following a drawing or tutorial, those everyday scribbles can have a very modern artist-like feel.
Pencil and Eraser
Optional:
Washi Tape or Painter’s Tape for creating a clean border around the artwork
Kids' Apron to protect clothing
Brown paper roll, or something to protect table or working surface
Please note: Oil Pastels are made with… you guessed it, oil. Unlike the art materials made for children, these are not made to be washed out. If this is a concern for you, you can always opt for a water-soluble set like this and will be more likely to get it out of fabrics.
*As an Amazon Associate I earn from qualifying purchases.
Let’s begin!
Step One: Pencil Sketch
Follow the steps below to sketch your owl drawing onto the black paper. You don’t have to be too cautious because the oil pastel will mostly cover any pencil marks.
Step Two: Add Oil Pastel - Painting the owl
After you have your pencil sketch ready to guide you, you’re ready to add color with oil pastels. If you would like to use the same colors as the example find a selection of these colors: white, various browns, orange, yellow, purple, various greens and a black. Feel free to get creative with your background or details.
Optional: I really like to tape the edges of the paper so that the child can freely paint right up to the border, but when the tape is removed you’re left with a very satisfying sharp edge to the lovely work of art. If you decide to do this, make sure you “unsticky” the tape a bit by sticking it to your clothing a few times before putting it onto the paper. Washi tape is less likely to damage the paper as you remove it, but you make the judgement call. When removing the tape, pull down slowly at a slight angle outward rather than straight down.
Start adding color by taking the white oil pastel and tracing a border around each of the markings on the face. Trace around the eyes and beak, leaving the V shaped marking in the middle of the face. Trace right up next to the outline of the head and inside the body, leaving the wing black. This includes the two triangular leg shapes which will also be solid white.
After creating this border to guide your painting, freely add white oil pastel in scribbling motions into the areas that will be white. Be sure to let some of the black paper show through and don’t paint over any of the features of the face or other parts of the body. It is better to stop far away and come back later than to accidentally go too far.
Next, take a yellow or a pink oil pastel and paint the almond shaped beak, trying to stay within the line.
For the eyes, you can either leave the black of the paper showing and add white oil pastel right up to the outline of the eye to define a black circle, or you can fill in the eye with the black oil pastel. The black oil pastel will cover all other colors of oil pastel, so it is great for cleaning up that black eye circle if you happened to accidentally go too far with the white. To finish the eye, add a white spot on either side of the eye for the reflection, keeping it to the same side of each eye.
Take a brown oil pastel and draw the two lines that run from the inside of the eye down to the beak that create a sort of V-shape. Then add a curved line a small distance from the bottom of the beak to separate the shape of the white face from the white body.
With a lighter brown, gold, or even a light orange color, trace the shape of the wing, defining it from the white of the body with a black outline. Add a light layer of this color inside the wing and then add the darker brown to the upper and lower portions of the wing on top of the first color. Add a few strokes of white in a few spots in the middle portion of the wing.
Take the same two colors and add a “headband” of color to the top of the owl’s head. You can overlap with the white a little to blend the colors.
Choose a color for the feet. I liked the pop of purple against the other colors and the green background, but you can select something true to real life if you prefer it. Draw over the sketch of the feet with your oil pastel however thick or thin you find appealing.
Step Three:Add Oil Pastel- The Background
Remember that the crux of our style is the heavy black outlines that separate large elements from one another in the painting. This can be hard for younger children, as it is a bit like having to stay inside the lines and requires somewhat matured motor skills. You can assist by tracing their owl with the background color and leaving a black outline that is a safe distance away from their work, this allows them to go wild up to that line without as much risk of overlap. Then take the green colors (or bright blue could be nice too) and start filling in the background to look like the spiky needles of a pine or evergreen. To mimic the original style, try to leave some black showing through the marks rather than covering the background surface in oil pastel.
Again, the black oil pastel will cover the other pastels, so you could alternatively let your child try to leave the border and fill the background on their own and then help them redefine the black border anywhere that it has disappeared or needs to be made bolder. You can also clean up the black outlines within the owl in areas like around the wing, and around the beak if you choose to.
AND DONE!
Add some initials or signature, peel the tape and you’re done! Like oil paint, oil pastels take a long time to fully cure so your art will stay somewhat sticky and smear-able. If you would like to spray your art to seal it, try a couple of layers of a matte fixative like this one. (Follow the directions! Adults only.)


